Creating a Cognito User Pool
Introduction
This article describes the steps used to create an Amazon Web Services Cognito user pool for the Cognito demonstration application.
This article assumes that you have an Amazon Web Services account. In addition to creating the Cognito user pool, you will need to create an Amazon IAM ID and secret key for Cognito. This will be used by the Java application to create a client that can communicate with Cognito. The creation of the IAM ID and key for Cognito are discussed in the article on the demonstration application.
Creating the User Pool
Navigate to the Cognito page and click on the Manage User Pools button.
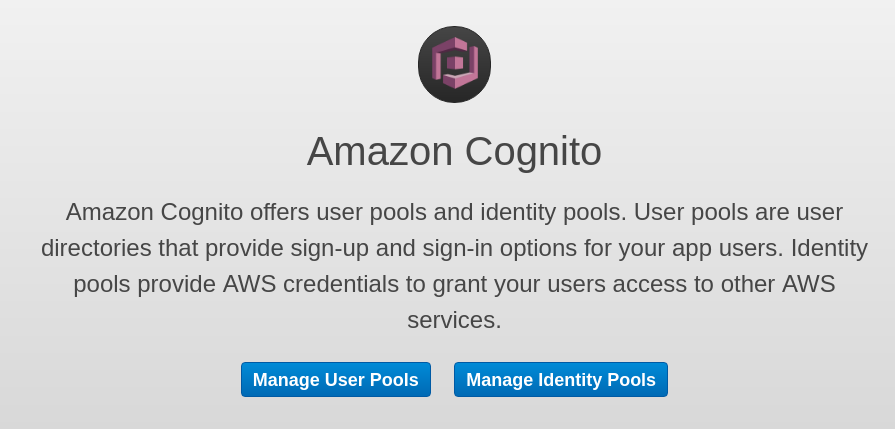
Click on the Create a User Pool button.

Add the name of the User Pool in the dialog.
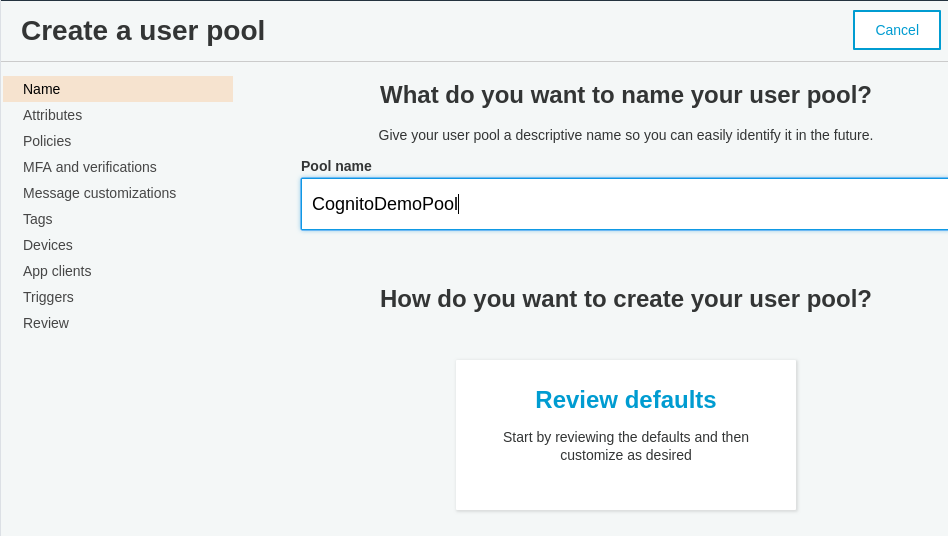
Click on the Step Through Setting button.
Use the default value for the user name (e.g., a user name, created by the user)

Add the email standard attribute (this is checked by default).
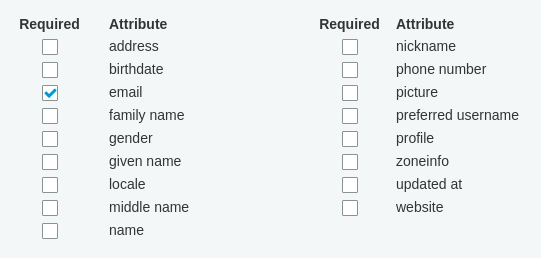
Add a custom attribute "location"

Click the Next Step button.
For the demonstration application, allow any eight character password (Amazon, rightly, warns against this for real applications).
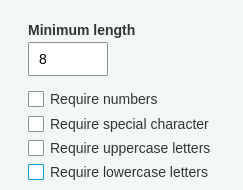
Accept the default 7-day expire for accounts that are created, but not used and click Next Step
Accept the defaults for the MFA and verification page and click Next Step
Accept the defaults for the message customization page (OK, if you want, you can customize the message). Click Next Step
Don't add any tags and click Next Step
Accept the default for "remember the user's devices" (we're not using devices for this demo).
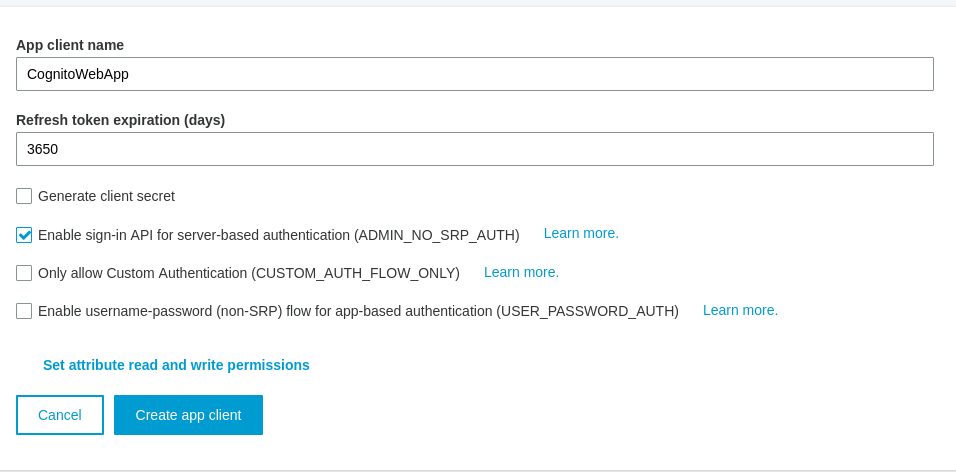
Click on Add an App Client. We will need a client for Cognito authentication. In this case the client will be the Cognito demonstration Web app.
Fill in the client app form as shown below and click "Create Client App". Then click Next Step
Click Next Step for the triggers page.
Click the Create Pool button to create the user pool.
The pool ID will be shown on the main User Pool page. The pool ID should be added to the cognito_demo.services.CognitoResources.java interface. The client ID also needs to be added to the Java interface. The client ID can be found under the "App clients" page (see the left hand side of the web page).
